Walk Process
A walk process is when an operative follows the content of a particular reading route by entering the readings of each point sequentially. This allows operatives to take the readings in a sensible order, such as all meters within a plantroom, improving their efficiency.
New Process
If there is no active walk process against the current operative and reading route, a new process will be created automatically:
From here, operatives can proceed with entering the readings of the points
Continue Process
If an operative has already started a walk process against the selected reading route, and not finalised it, they will be prompted to either proceed with the route from where they left off, or disregard the data they have already entered and start from scratch:

From this view, an operative can see the related information of their outstanding process to help them decide how they want to proceed:
- Start Date: When the walk process was started by the operative
- Expected References: How many references the operative is expected to take readings for, based off of the route
- Processed References: How many references the operative has proceeded through so far
- Logged Readings: How many readings the operative has entered during the process
- Logged Files: How many files (pictures) the operative has entered during the process
- Last Action: When the operative last interacted with the process
- Last Point: The name of the last point and reference the operative interacted with. NA if the operative has not entered any readings
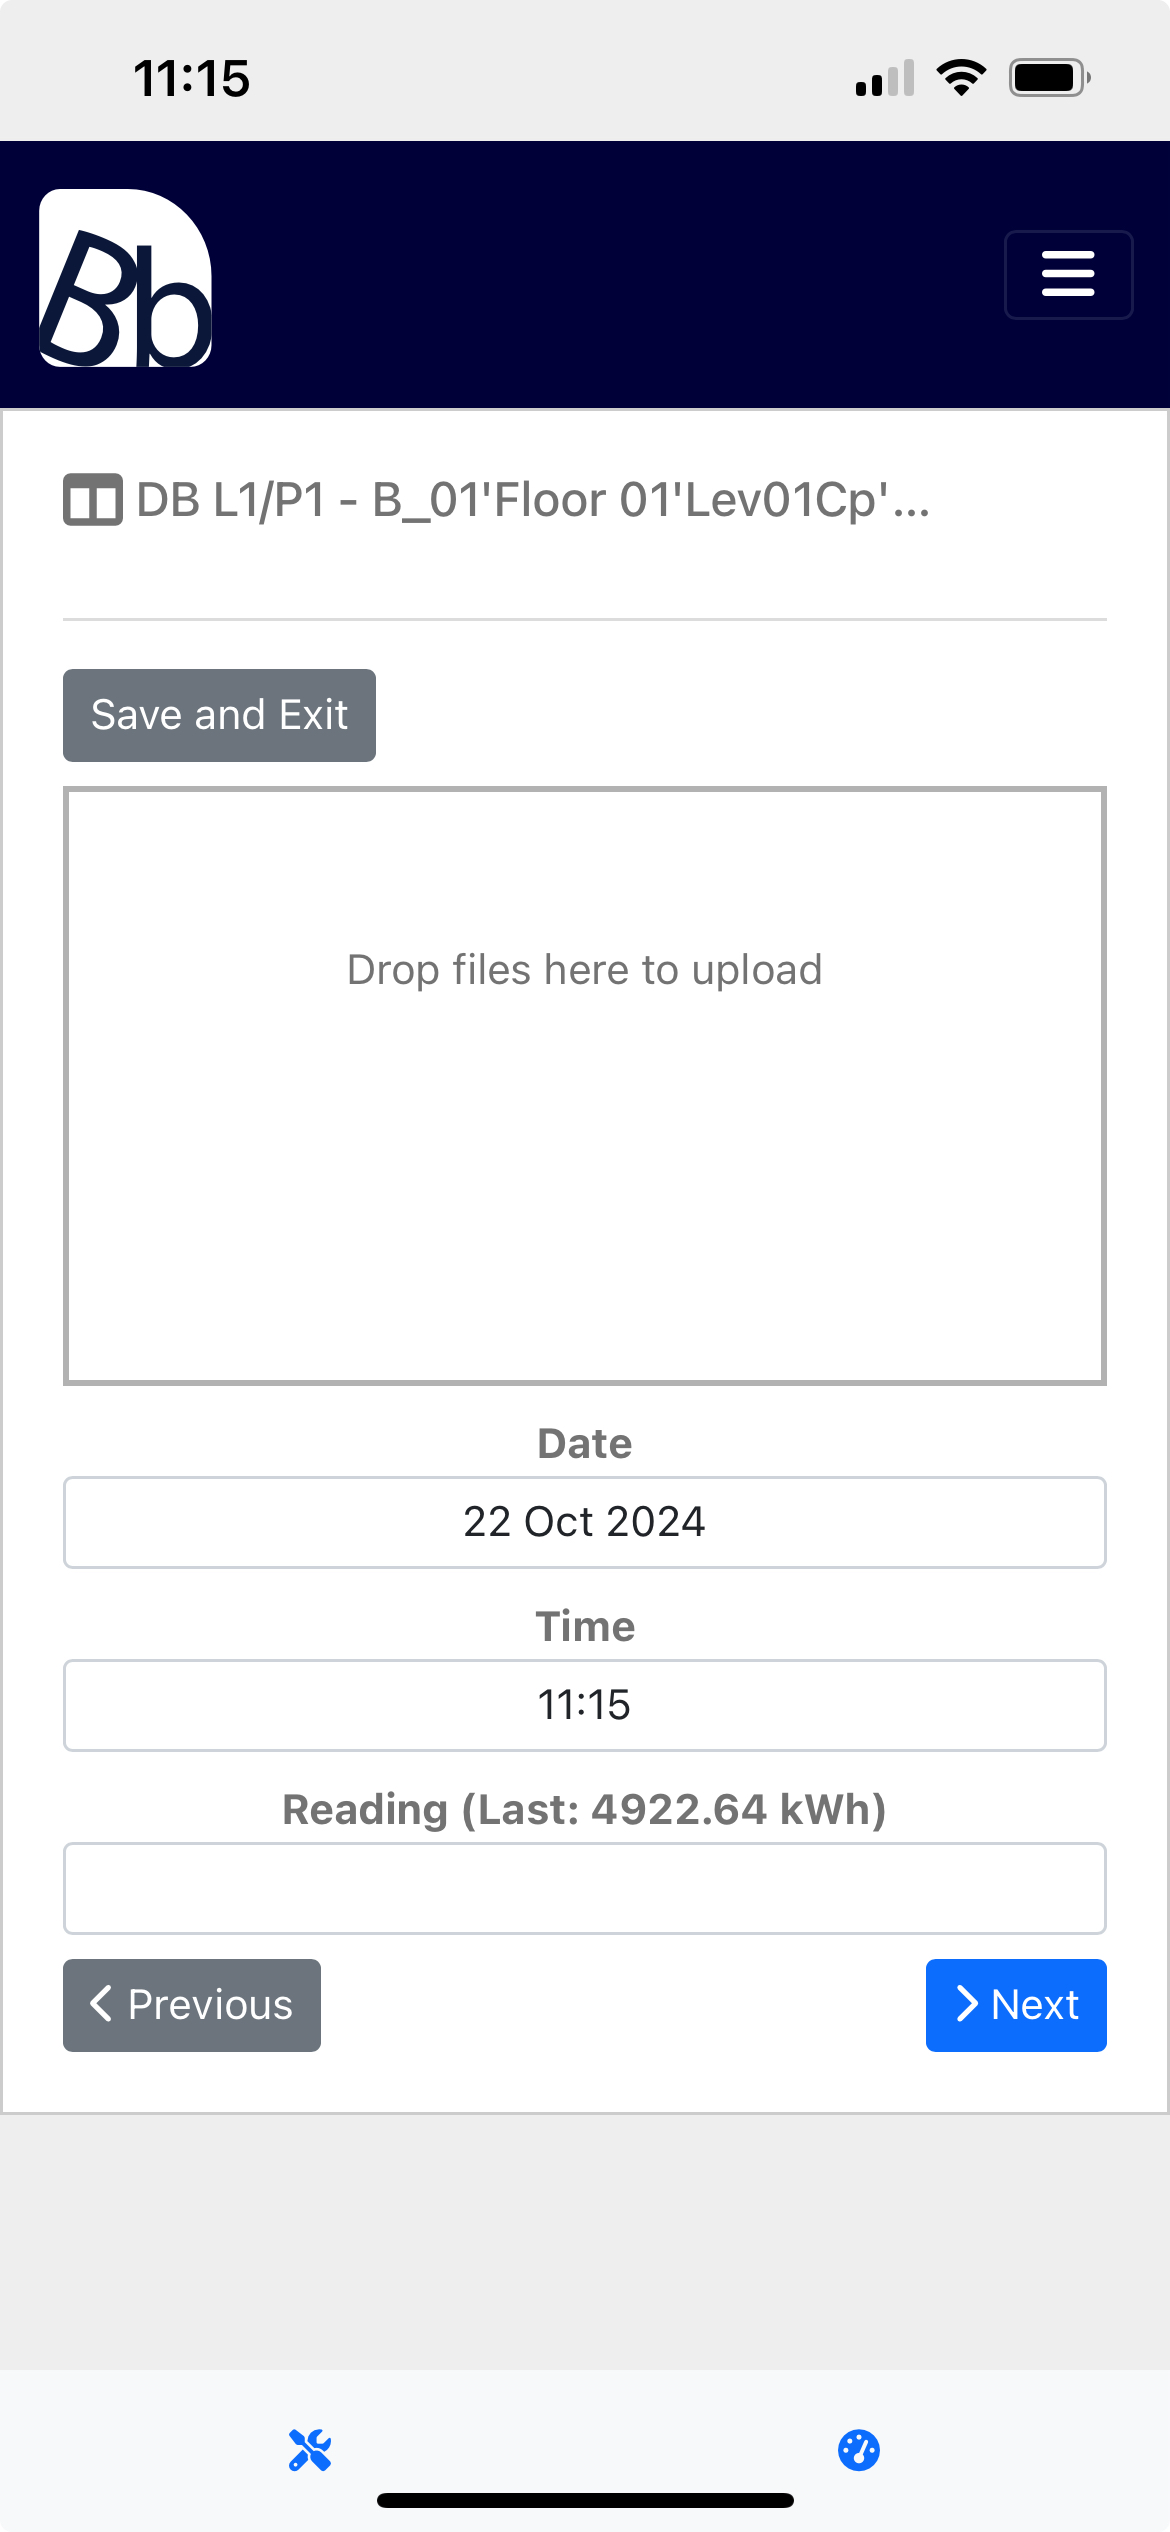
Enter Reading
Once the walk process has been started/continued, operatives can start enter readings for each point within the route. A reading does not need to be entered for every point in the route. If an operative doesn't want to enter a reading for a point, they can use the Next button to move on
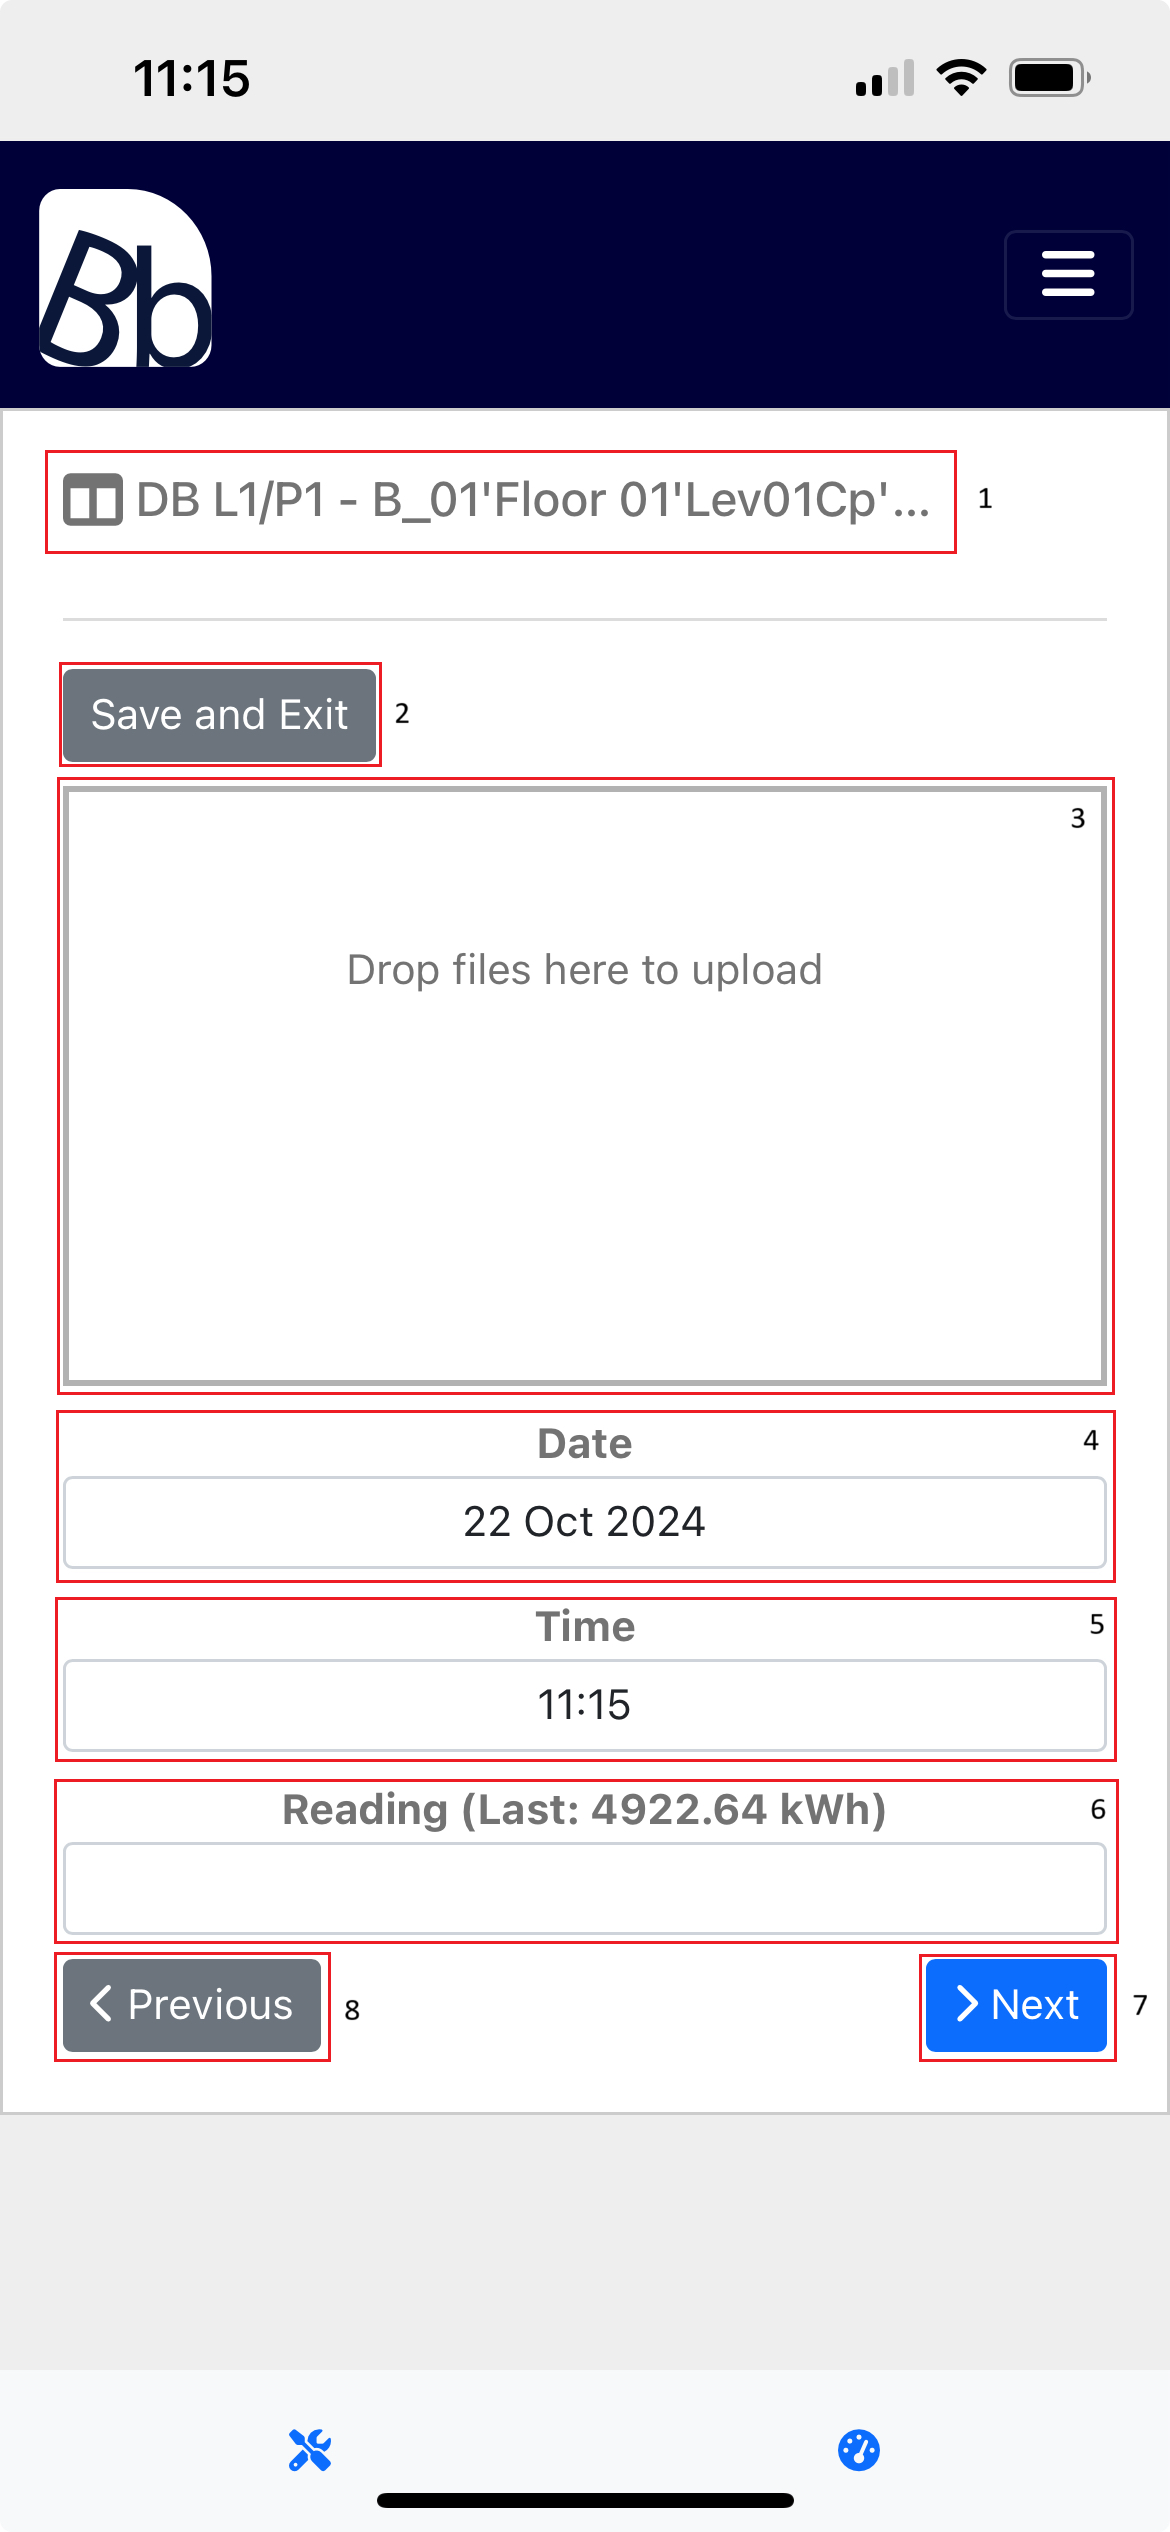
Here's the options when entering readings:
- Point/Reference Name: Name of the point and reference the readings is associated with
- Save and Exit Button: Button that enables an operative to save their progress sor far, and exit
- File Uploader: An uploader for an image of the meter the reading is coming from. This is not required to proceed with the route
- Date (Required): The date the reading has been taken
- Time (Required): The time the readings has been taken
- Reading (Required): The value of the meter. The last reading taken is also displayed to help the operative spot any discrepancy
- Next Button: Button that saves the values entered and moves on to the next point in the route
- Previous Button: Button that recalls the values of the previous point in the route, allowing the operative to edit
Finalise Process
Once the operative has proceeded through the entirety of their specified reading route, by entering readings or not, they will be shown a summary of their work and asked to finalise the process:
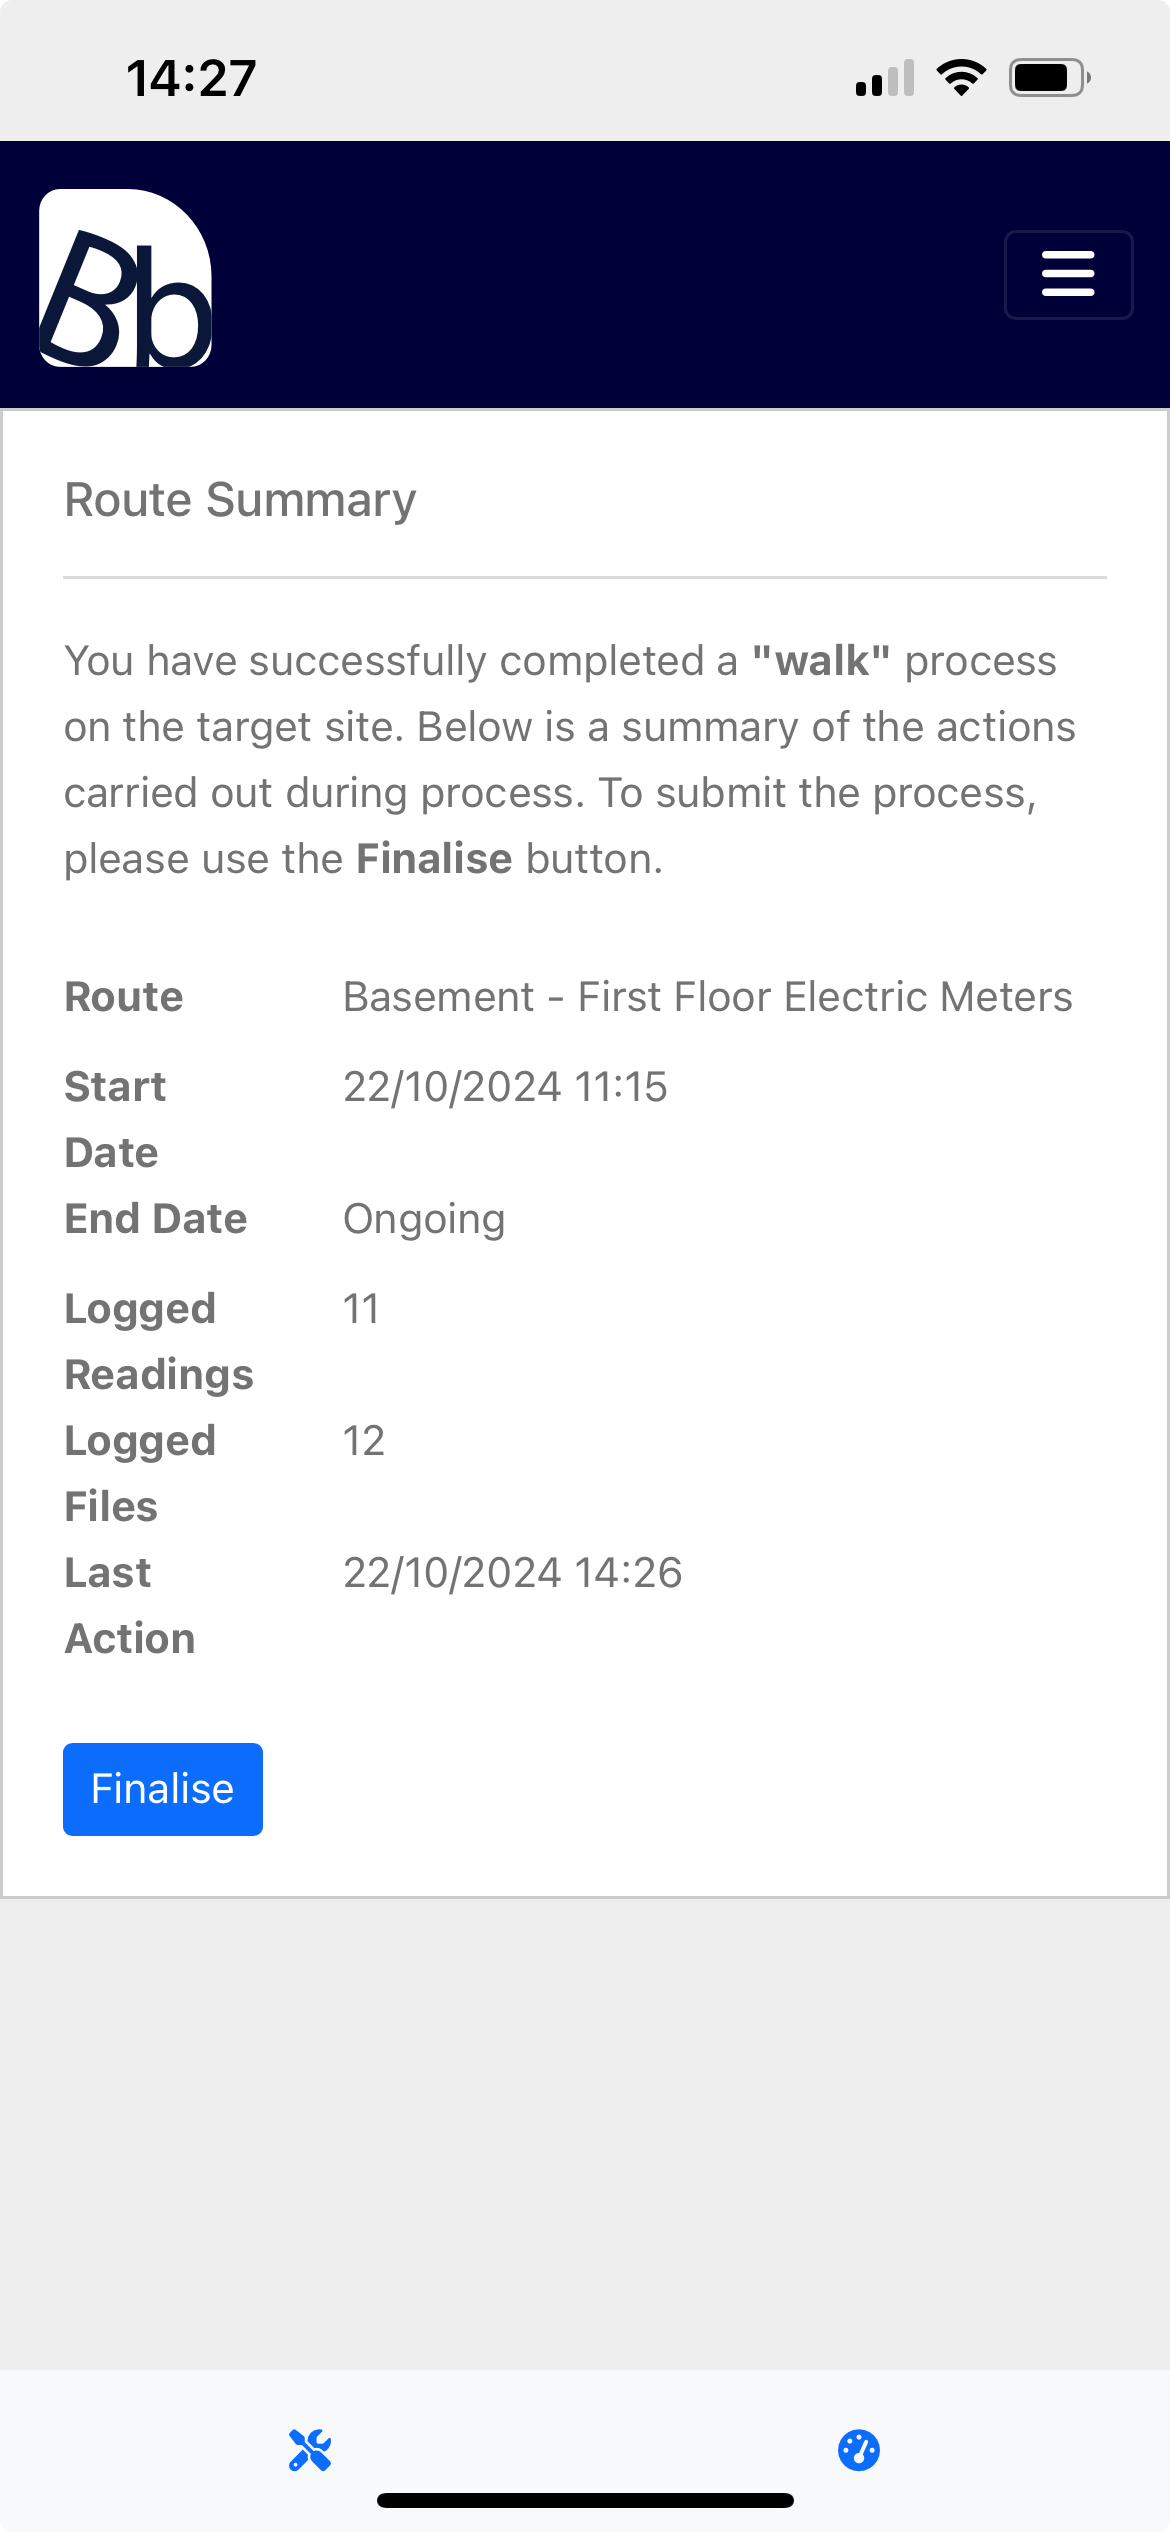
After the process has been finalised, the operative is redirected to the meter readings dashboard where they are free to start a new walk process against the finalised reading route.